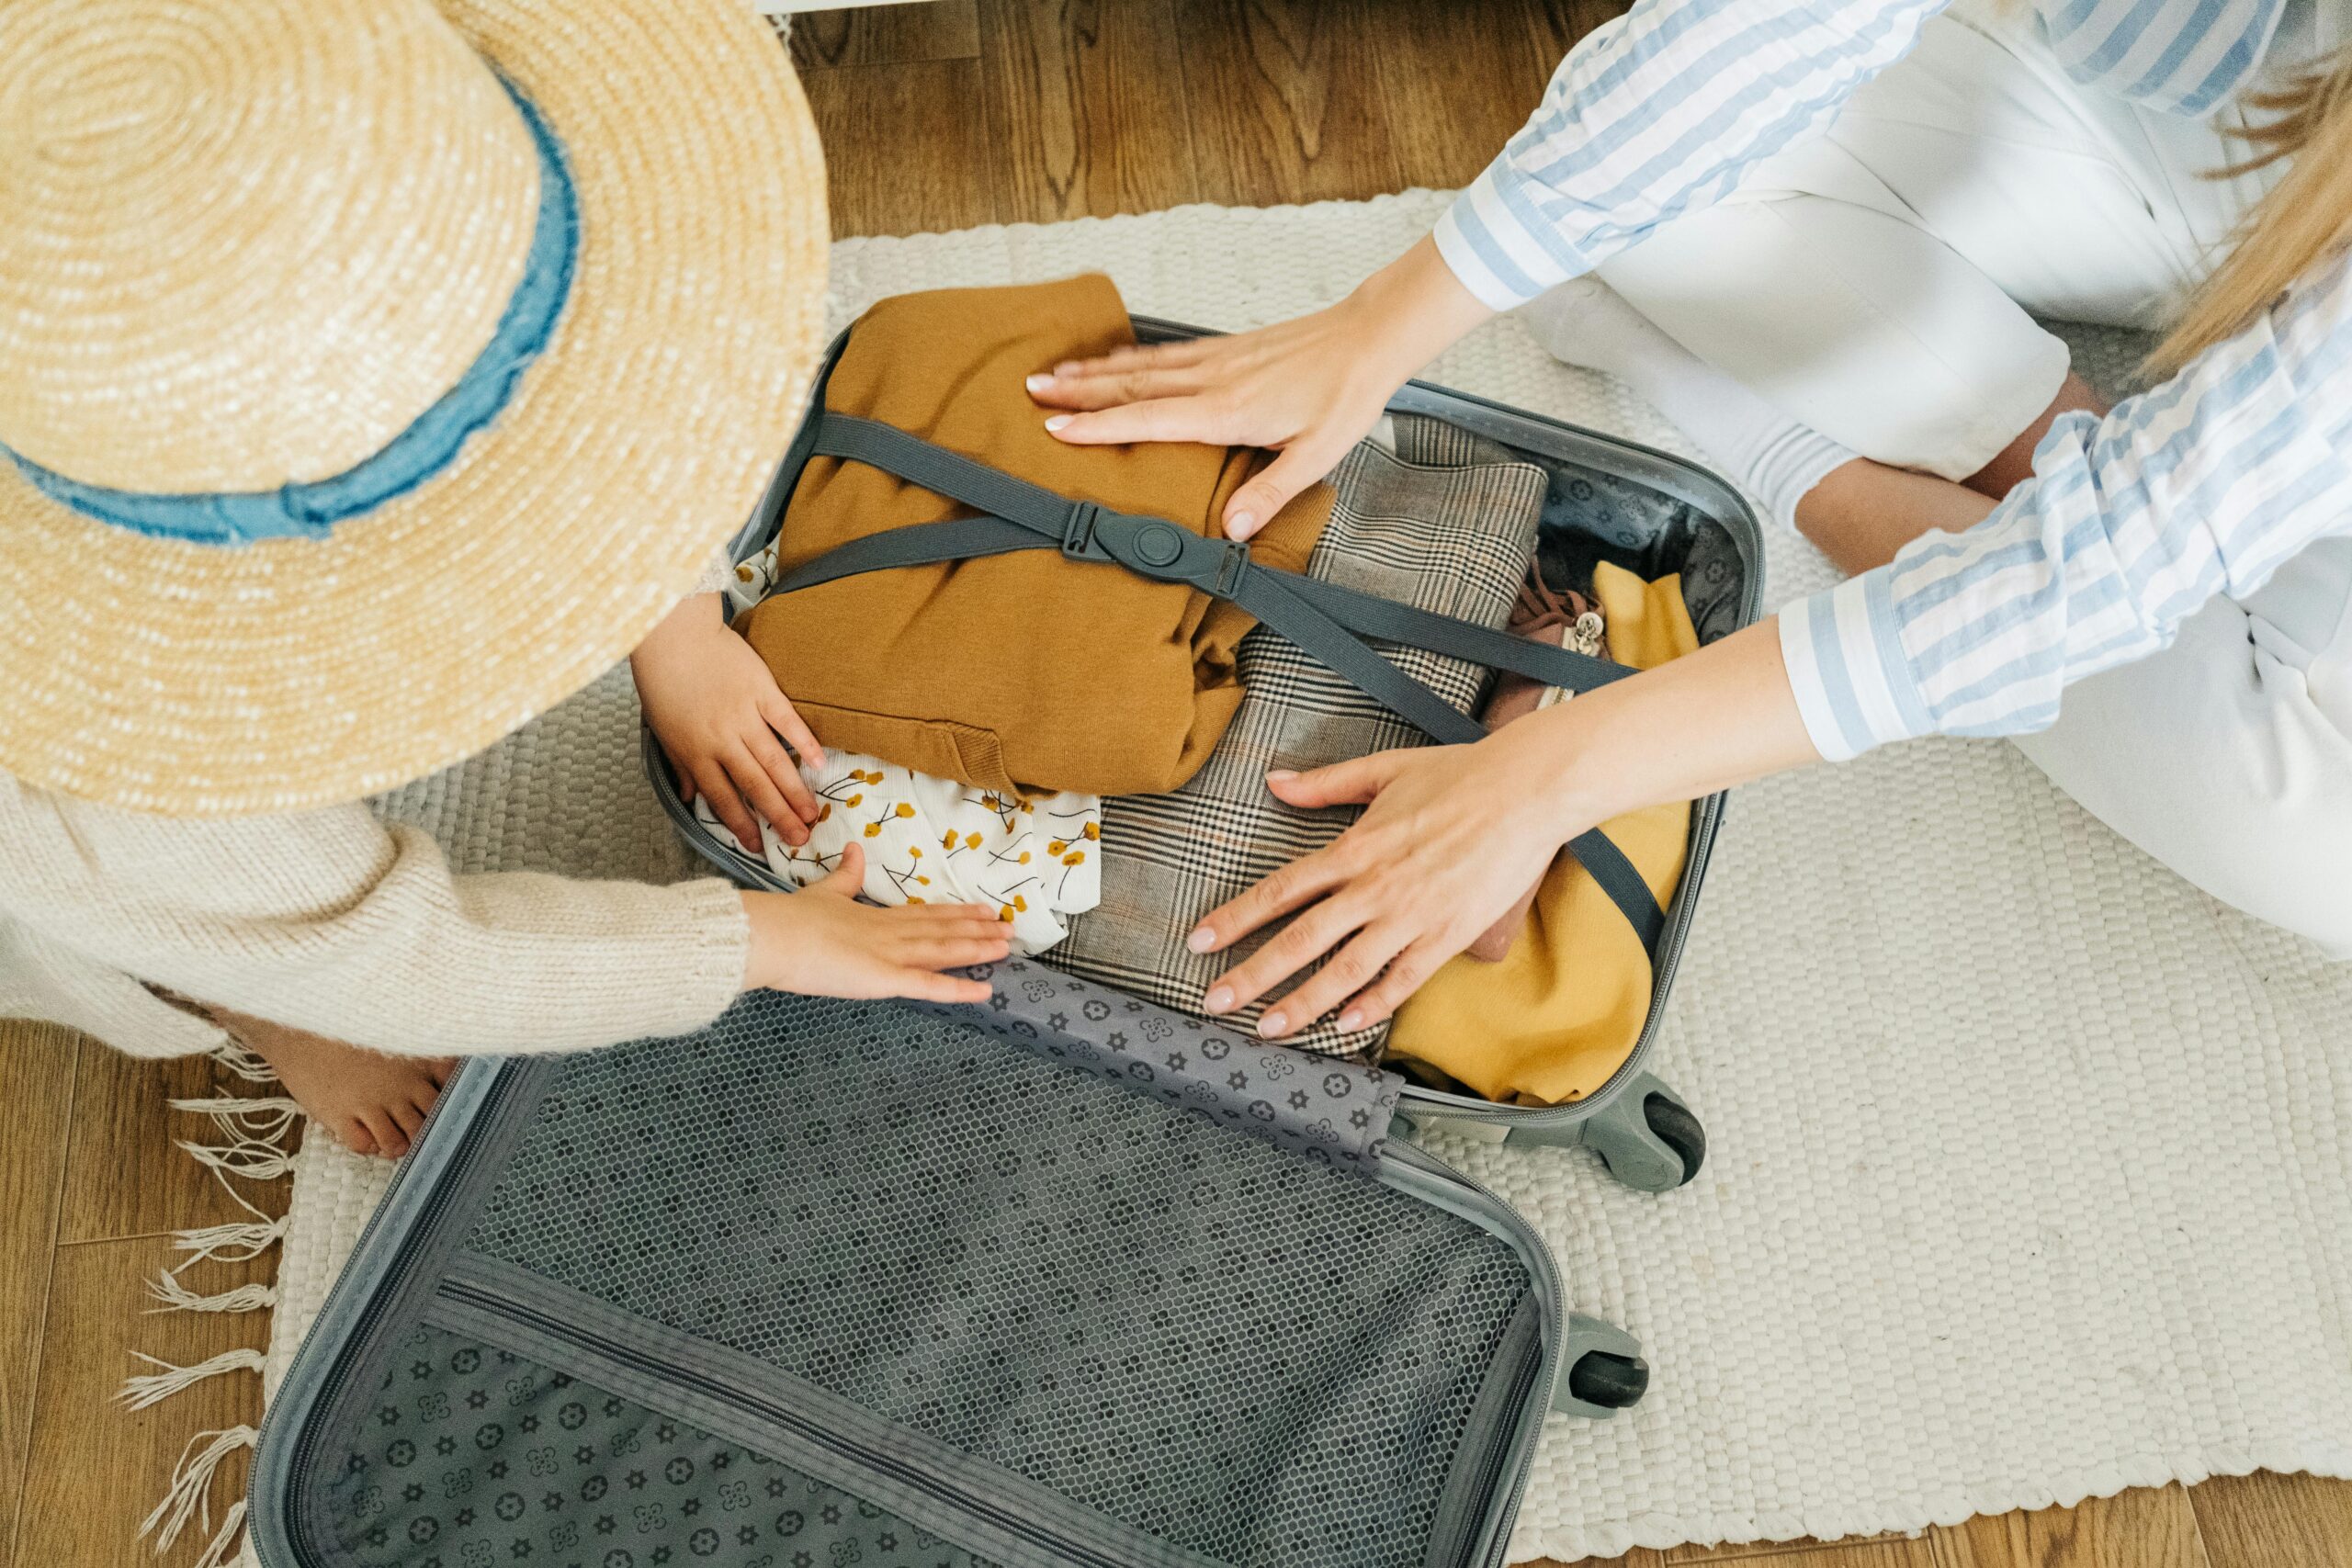
For most guests, the Airbnb check-in process can be an exciting—or even stressful—experience. Naturally, they want to easily find the property they’ve booked and ensure the Airbnb holiday home meets their expectations.
As an accommodation provider, your role is to make this process as smooth as possible for your guests. By doing so, you lay the foundation for a relaxing and enjoyable stay. A seamless guest check-in process is crucial for guest satisfaction as it sets the tone for the entire visit and prevents unnecessary confusion or stress.
In this post, we’ll guide you through the whole process step-by-step—from preparing your Airbnb and communication tips to the check-in itself. Let’s dive in!

1. Preparing Your Airbnb for Check-In
1. Clean and Organize the Space
First and foremost, make sure your rental is spotless and well-organized for the guests’ arrival. Cleanliness is non-negotiable for all guests, without exception. Pay particular attention to key areas such as the bathroom, kitchen, and bedroom.
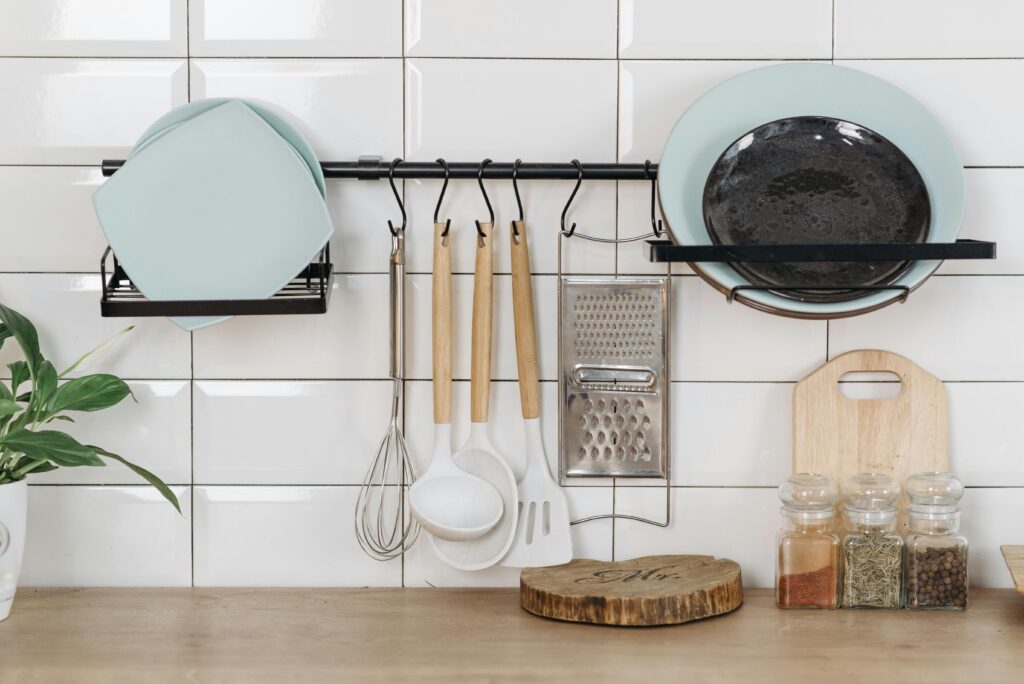
2. Stock Essentials
Next, refill the following items:
- Toiletries
- Toilet paper
- Basic kitchen supplies (e.g., coffee capsules and essential ingredients, depending on what you provide)
- Dishwasher capsules and detergent
- Basic cleaning products
Provide:
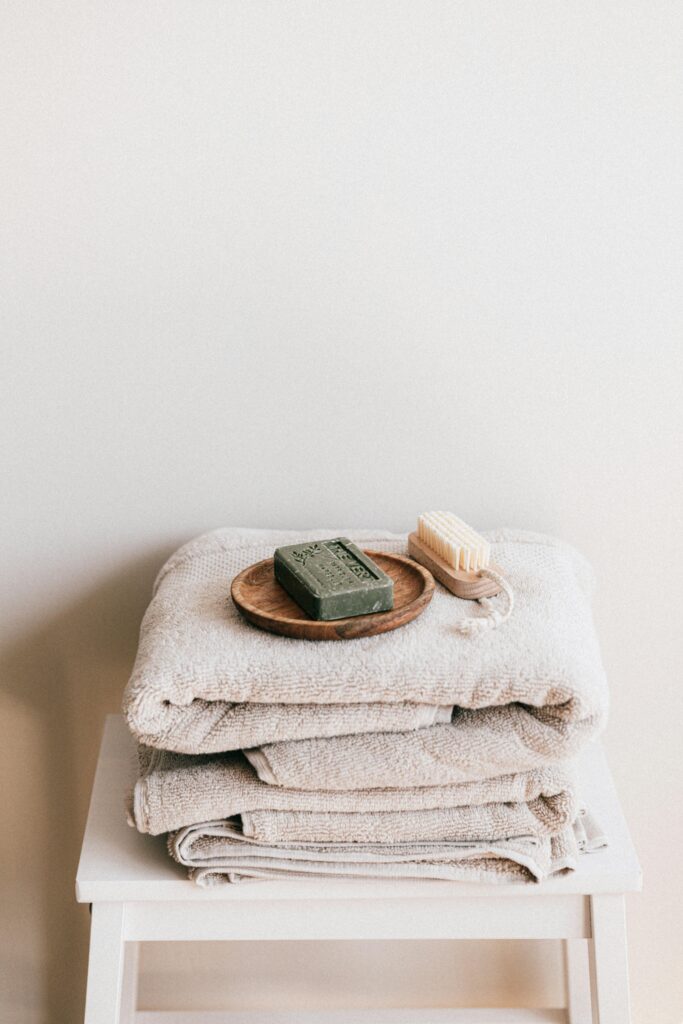
- Fresh towels
- Kitchen towels
Check that all appliances (such as the coffee machine, electric kettle, and fridge) are thoroughly cleaned and in proper working order.
3. Double-Check Safety Features
Finally, test the smoke detector and carbon monoxide alarm (if you have one—it’s strongly recommended). Ensure the fire extinguisher and first aid kit are in place and functional, and display emergency contact numbers in an easily visible location.
2. Communicating with Guests Before Arrival
1. Send Clear Pre-Arrival Instructions
Guests receive basic details like the address, GPS coordinates, and your phone number upon booking. However, effective Airbnb guest communication is essential to make their arrival as smooth as possible. Moreover, include a picture of the entrance door and the key box to avoid confusion. This way, your guests can arrive confidently.
Don’t forget to mention:
- parking options,
- gate/door codes, and the
- key box code if you’re offering self-check-in.
2. Provide Check-In Times and Flexibility
Additionally, confirm the guests’ arrival time and clearly communicate your check-in window. If possible, offer flexibility for early check-ins or, at the very least, accommodate their luggage and provide access to parking if needed.
3. Answer Last-Minute Questions
Offer assistance with directions, transportation, or local tips to ensure your guests have everything they need. For example, let them know if grocery stores will be closed on their arrival day. This includes sharing recommendations for airport transfers if they are arriving by plane.
4. Share Your Welcome Note or Guidebook
Lastly, use this opportunity to make guests feel welcome even before they arrive. If you have a digital version of your welcome book or note, share it with them. Some guests like to prepare for every eventuality in advance. Sharing this information can also make your life easier as a host by reducing last-minute communication.

3. Simplifying the Check-In Process
1. Offer a Self-Check-In Option (if possible)
Self-check-in is a fantastic option, especially if you don’t live on-site. If both options work for you, simply ask guests which check-in method they prefer. I usually contact guests before their arrival to ask whether they would like to be greeted in person or if self-check-in works for them. For instance, key-less entry systems and lock boxes are safe and convenient options. If you won’t be welcoming guests in person, it’s essential to provide clear, step-by-step Airbnb check-in instructions on how to access the property. As a result, guests can access the property independently, reducing stress for everyone.
2. Prepare for In-Person Check-Ins
If you plan to greet guests personally, organize your schedule to ensure everything is ready for their arrival. Show them around the property, explain the most important details for a smooth stay, and demonstrate how to use key household appliances. Share a few local recommendations to help them settle in and enjoy their stay from the start.
3. Keep Instructions Simple and Accessible
To make things easier, make sure all instructions are clear and easy to find. Place them in a prominent location, like on the dining table or near the entrance. Consider creating a welcome book if you don’t already have one (I have a step-by-step guide on preparing the perfect welcome book—click here to learn more). A welcome book is a practical way to provide guests with all the necessary information in one place.

4. Creating a Welcoming First Impression
1. Add a Special Touch
A thoughtfully prepared welcome basket is appreciated by most guests. Include extras and snacks depending on the time of year and the climate. For example, in summer, I like to stock the freezer with ice cream and leave a few bottles of soft drinks in the fridge. In winter, I prefer seasonal treats like a tea box, hot chocolate packets, or cookies. If possible, include some local goodies to give your guests a taste of the region.
In addition to the welcome basket, a warm, friendly-toned welcome note works wonders. (I have a detailed post on how to craft the perfect welcome note. If you’d like to learn more, click HERE.)
2. Check the Temperature and Lighting
Set a cozy, homey ambiance by adjusting the temperature before your guests arrive. In summer, turn on the air conditioning, and in winter, warm up the space with heating well in advance. If guests arrive in the evening, create a welcoming atmosphere with soft, warm lighting or LED candles. These small efforts go a long way in creating a positive first impression.
3. Highlight Key Amenities Upon Arrival
Point out amenities guests might need right away, such as the Wi-Fi password, coffee machine, or thermostat controls. In addition, mention your welcome book as a valuable resource for practical information, especially if you haven’t sent it in advance. Since guests may not think of all their questions immediately, let them know you’re available if they need help during their stay.
As you can see, creating a calm and stress-free Airbnb check-in experience doesn’t have to be complicated. The most important thing is to allow enough time for thoughtful, step-by-step preparation. By doing so, you can effortlessly improve the guest experience and ensure a smooth, positive first impression. Plus, you’ll build a reputation as an attentive, helpful, and friendly host—someone guests will happily book with again!
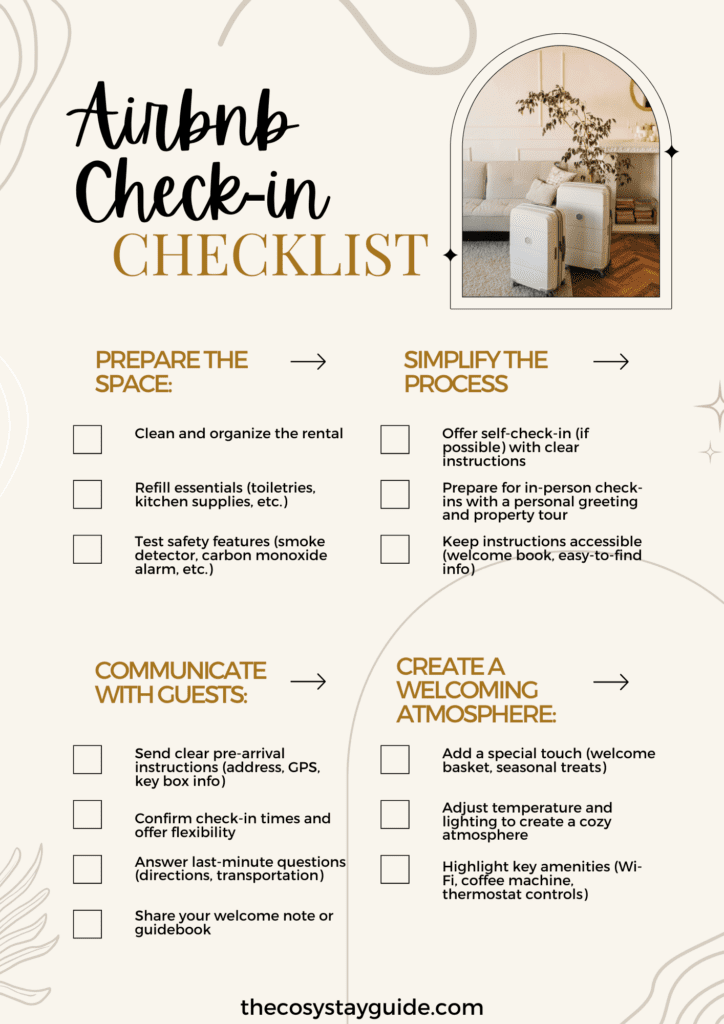
To make it even easier for you, here’s a quick Airbnb check-in checklist summarizing all the steps for a smooth and stress-free Airbnb check-in process:
What’s your top tip for a smooth Airbnb check-in? Share it in the comments below!
Not following me on Pinterest yet? Click here to follow me now!
